
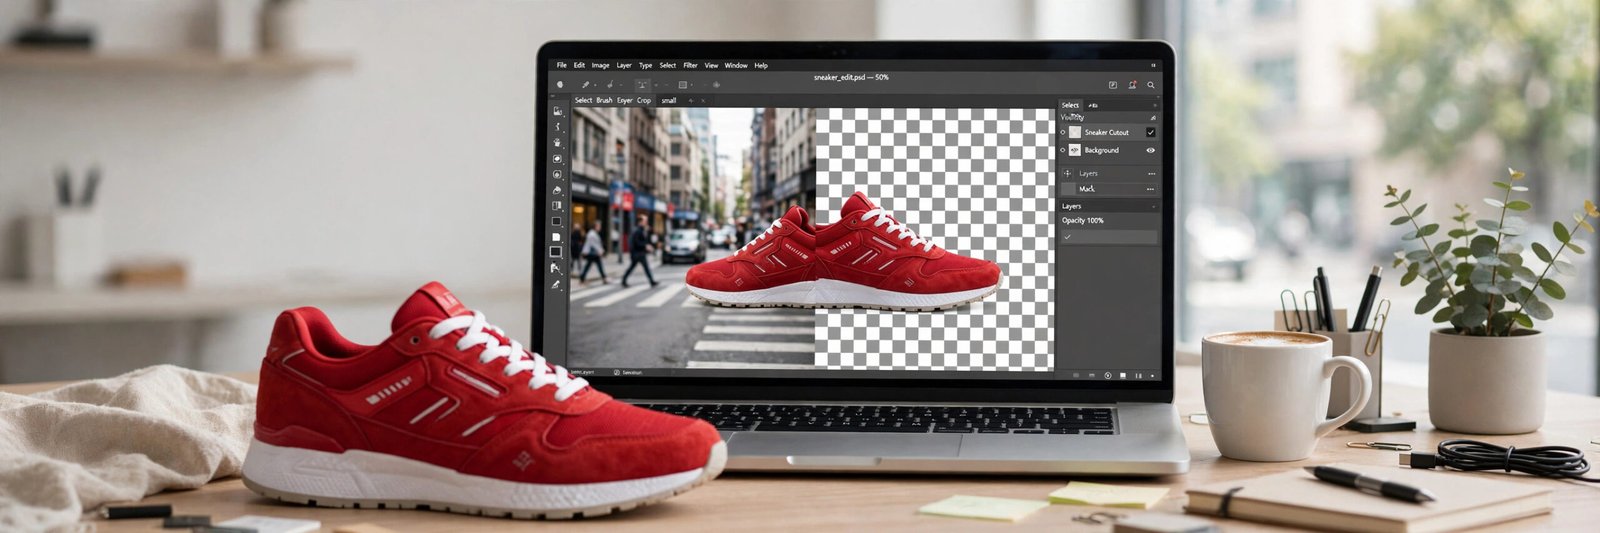
I found out about this the way most people will: by accident. A reader emailed me last week asking why remove.bg, the background remover almost everyone has used at least once, was showing a notice on its homepage. The answer is simple, and it matters if background removal is part of your workflow. Remove.bg says its standalone website will close on 1 December 2026, and the tool is moving into Canva. The feature is not disappearing, but the free one-click website millions of people bookmarked is.
That notice is the reason I sat down and tested every free way to remove a background from an image that I could find. Some of them live inside software you already own. Some are web tools with honest free tiers. One of them is completely unlimited and open source, though it asks a little more of you. What follows is what actually worked, what each method costs you in time, sign-ups or image quality, and which one I would pick for each common job.
The good news first. Removing a background from a photo used to be a job for Photoshop and a steady hand with a selection tool. That is no longer true. Every method in this guide uses AI to find the subject of your photo and cut it out in seconds. The difference between them is not really the quality of the cutout anymore. It is the limits around it: how many images you can process, whether you need an account, whether the full-resolution file is free, and whether your photo gets uploaded to someone else’s server.
What a background remover actually does
A background remover looks at your photo, works out which pixels belong to the main subject, and turns everything else transparent. The result is usually saved as a PNG file, because PNG is the common format that stores transparency. A JPG cannot do it. If you save a cutout as a JPG, the transparent area becomes white, which defeats the purpose.
That one detail causes more confusion than anything else in this topic. People run a photo through a remover, download it as a JPG because that is the default, and wonder why the background is white instead of see-through. If you remember nothing else from this article, remember this: always download the result as a PNG if you want transparency.
The checkerboard pattern you see in editing tools is not part of the image. It is just how editors show transparency on screen. Your downloaded PNG will have a genuinely empty background that you can drop onto any colour, photo or design.

The quick answer: which method for which job
If you want the short version in one paragraph, here it is. On a Windows 11 PC, open the photo in Paint and click Remove background. It is built in, it needs no account, and it takes about ten seconds. On an iPhone, press and hold the subject in the Photos app. On a Mac, use Preview. If you are on any device with a browser and you want the cleanest free web result, use Adobe Firefly, which gives you a transparent PNG with a free Adobe account. If you sell products online and you process dozens of photos, look at the open-source tool rembg, which is free and unlimited. And if remove.bg was your only tool, start switching now, because its standalone site closes on 1 December 2026.
The rest of this guide walks through each method step by step, with the limits I found while testing them.
Method 1: Microsoft Paint on Windows 11
This surprised me more than any other method, because Paint used to be the joke app of Windows. Microsoft added a one-click background remover to Paint in September 2023, and it is genuinely good for everyday photos.
Open the image in Paint. You can right-click any image file and choose Open with, then Paint. Once the image is open, look at the toolbar at the top. Click Remove background. Paint analyses the photo, finds the subject, and deletes everything else. The whole thing takes a few seconds on a normal photo.
Save the result as a PNG. Go to File, then Save as, then PNG picture. If you save it as a JPG, the transparency is lost and the background comes back white, so this step matters.
Paint works best on photos where the subject stands out clearly from the background: a person against a wall, a product on a table, a pet on a lawn. It struggles with the same things every automatic tool struggles with, which I will cover later: hair, fur, glass, and anything semi-transparent. For those, you can use the eraser or the selection tools to tidy the edges, though Paint is not the right tool if you need that level of control every day.
The case for Paint is simple. It is already on your computer. There is no upload, no account, no daily limit, and no watermark. Your photo never leaves your machine, which is worth something if the photo is private. The case against it is that it only exists on Windows 11, and it does one image at a time. It will not batch process fifty product photos for you.
Method 2: iPhone Photos and Mac Preview
Apple built background removal into its own apps, and it works without installing anything or creating an account. The method is different on each device, so I will cover both.
On an iPhone, open the photo in the Photos app. Touch and hold the subject, a person, a pet, an object, and after a second the subject lights up with a glowing outline. A small menu appears with Copy and Share. Tap Copy, then paste the cutout into any app that accepts images, like Notes, Messages, or Pages. You can also tap Share and save it to Files, though what you get depends on the app you share to. This is the fastest way I know to pull a subject out of a photo on a phone, and it works well for profile pictures and quick social media posts.
On a Mac, open the image in Preview, which is the default app for opening images. Click the Remove Background button in the toolbar. Preview asks whether to convert the file to PNG, because PNG is the format that keeps the transparency. Click Convert, and you have your cutout. If you click Cancel instead, use File and Duplicate to keep the original safe, then try again.
The Apple methods share the same strength as Paint: nothing is uploaded, nothing is signed up for, and there is no limit. The weakness is the same too. These are single-image tools for quick jobs, not a workflow for a shop with a hundred product photos. And the iPhone version gives you a cutout to paste somewhere, not a saved transparent PNG file, which is fine for a sticker or a message but less useful if you need the file itself.
Method 3: Adobe Firefly, the best free web tool
If you are on a Chromebook, a borrowed computer, or any device where the built-in tools above are not available, Adobe Firefly is the free web option I would start with. Adobe moved its free background remover into Firefly, and the old Adobe Express links now point there.
Go to the Adobe Firefly remove background page and sign in with a free Adobe account. If you do not have one, creating it takes a couple of minutes and an email address. Upload your photo in the Edit tab, choose Remove Background from the Quick Actions menu on the left, and the background disappears. Click Download in the top-right corner to save the result as a PNG.
Adobe accepts JPG, PNG and WEBP files up to 50 MB, which covers almost any photo a phone or camera produces. The free account gives you a daily allowance of generations, and Adobe does not publish the exact number on the page, so expect a small daily allowance rather than unlimited use. For most people doing a few images a day, that is enough. For a shop processing a catalogue, it is not.
The quality is the best I found among the free web tools. Firefly handles hair and fine edges better than most, and because the cutout lands inside Firefly, you can keep working on it there: drop in a new background, add text, or adjust the image without exporting and re-uploading somewhere else. That matters if the background removal is one step in a design rather than the whole job.
The honest downside is the account. You cannot use Firefly without signing in, and your photo is uploaded to Adobe’s servers to be processed. Adobe says its Firefly models are trained on licensed and public-domain content, which is a reasonable privacy position for a big company, but it is still an upload. If the photo is sensitive, use one of the on-device methods above instead.
Method 4: Canva, and what happens to remove.bg
This section needs a little history, because the tool most people search for is about to change. Remove.bg was the first background remover many of us ever used. Canva owns it now, and remove.bg has announced that its standalone website will stop being available from 1 December 2026 at 9:00 CET. The background removal feature itself moves into Canva.
What that means in practice: if you have remove.bg bookmarked, that bookmark stops working in December. If you want to keep using the same removal engine, you will use it inside Canva instead.
Inside Canva, open any design or upload a photo, select the image, and choose BG Remover under Tools. The result downloads as a high-resolution PNG. The catch is the plan. Canva Free gives you limited use of the background remover, and Canva says to sign up for Canva Pro for unlimited usage. If you already pay for Canva Pro, this is probably the most convenient option of all, because the cutout goes straight into your design. If you are on the free plan and you remove backgrounds often, the limit will frustrate you.
My advice is practical. Do not build a new workflow on remove.bg now, with weeks left before its standalone site closes. If you already design in Canva, use its background remover there and accept the free-plan limit. If you do not use Canva, pick one of the other methods in this guide instead.
Method 5: rembg and Photopea, for batch jobs and full control
The first four methods all process one image at a time. That is fine for a profile picture. It is a problem if you have forty product photos from a shoot and a listing deadline.
Rembg is an open-source tool that removes backgrounds from the command line. It runs on Windows, Mac and Linux, it is free and unlimited, and it is released under the MIT licence. You install Python, install rembg, and run one command per image, or a short script for a whole folder. Your photos never leave your computer. The trade-off is obvious: you need to be comfortable typing commands. This is the method I would recommend to a developer or a seller who processes images in bulk and is willing to spend twenty minutes setting it up once.
Photopea is the other end of the same idea. It is a free photo editor that runs entirely in your browser, works with layers and masks, and never forces you into a subscription. It takes more effort than a one-click remover, because you select and refine the subject yourself, but it gives you pixel-level control for images where the automatic tools keep failing: a glass bottle, a veil, a dog with long fur against a busy background. Photopea is the right answer when the automatic result keeps looking wrong and you are willing to spend five minutes fixing it by hand.
Neither of these is the right first tool for a beginner. Both are worth knowing about, because the day you have a hundred images to process, or one image that no automatic tool can handle, they are the tools that solve the problem without a subscription.
The five methods compared
| Method | Where it works | Account needed | Free limit | Best for |
|---|---|---|---|---|
| Microsoft Paint | Windows 11 | No | Built in, no limit | Quick cutouts on a PC |
| iPhone Photos / Mac Preview | iPhone, Mac | No | Built in, no limit | Fast cutouts on Apple devices |
| Adobe Firefly | Any browser | Free Adobe account | Daily allowance | Cleanest free web result |
| Canva BG Remover | Browser and apps | Free Canva account | Limited on Free, unlimited on Pro | Designs finished inside Canva |
| rembg | Windows, Mac, Linux | No | Free and unlimited | Batch jobs and developers |
Read the table from the point of view of your own situation and the choice mostly makes itself. If you remove a background once a month, use whatever is already on your device. If you do it every day, the account and the limits start to matter more than the quality, because all five methods produce a usable cutout on a normal photo.
Why some photos fail, and how to fix them
Every automatic background remover fails on the same kinds of photo. Knowing which ones they are saves you from blaming the tool.
Hair and fur are the hardest. A remover has to decide, pixel by pixel, where a strand of hair ends and the background begins, and at the edge of a photo that line is genuinely ambiguous. The result is usually a slightly rough or haloed edge. The fix is to choose a photo where the subject is well lit and the background is plain, or to accept a small amount of manual cleanup with an eraser brush.
Glass, water and anything semi-transparent cause similar trouble, because the tool cannot tell whether a pixel belongs to the object or to whatever shows through it. A glass bottle on a white background will often come out with a hole in it. There is no automatic fix for this. If the photo matters, use a manual editor like Photopea and mask it by hand.
Low contrast is the third failure. A dark-haired person against a dark background, or a white product on a white background, gives the tool very little to work with. Taking the photo again against a contrasting background, even a plain bedsheet, will do more for the result than switching tools.
One more practical point: start with the highest-resolution original you have. A remover working from a small, compressed image has less detail to work with, and the edges show it. If you are cutting a product out of a photo you took on your phone, use the original file, not the version a messaging app compressed for you.
What to do with a transparent PNG
A cutout on its own is not a finished product. The reason people remove backgrounds is what comes next, so here are the uses I see most often.
Product photos are the biggest one. A clean cutout on a white background is the standard look for online marketplaces and shop listings, and it is the look buyers trust. If you sell anything online, this is the single most valuable use of a background remover. I covered a related angle in my guide to free AI tools for students, where image tools like this one show up again and again in real student and freelancer workflows.
Profile pictures and thumbnails are the second. A cutout of yourself on a plain colour makes a YouTube thumbnail or a LinkedIn photo look deliberate rather than accidental. Keep the crop tight and the background colour consistent across your channel or profile, and the effect is stronger than any single image.
Social media graphics are the third. A cutout dropped onto a coloured background with a line of text is the basic unit of a Pinterest pin or an Instagram post. If you publish visual content regularly, my Pinterest for beginners guide explains why this kind of clean, consistent image performs better than a busy original photo.
Presentations and documents are the fourth, and the most overlooked. A logo or a product cutout placed on a slide looks professional. The same image pasted with its original background looks like an accident. If you ever present your work, keep a folder of transparent PNGs of your products and logos ready to use.
Mistakes that waste your time
The first mistake is downloading the result as a JPG. I have said it twice already and I will say it once more, because it is the mistake I see most often. JPG cannot store transparency. Download as PNG.
The second mistake is trusting a tool’s preview instead of checking the file. Some free tools show you a clean preview and then watermark the download, or shrink it to a small size unless you pay. Always open the downloaded file and check it at full size before you use it in a design or a listing. If the free download is watermarked or tiny, that tool is not really free for your purpose, and you should switch.
The third mistake is uploading photos you do not own the rights to, or photos of other people, into a web tool and assuming that is fine. Removing a background does not change who owns a photo. Only process images you took yourself or have permission to use, and think twice before uploading a private photo to any web service.
The fourth mistake is paying for a tool before checking the free options. Background removal is one of those jobs where the built-in and free tools genuinely cover most needs. Try Paint, Preview or Firefly first. Pay only when you hit a real limit, like a daily allowance that is too small for your volume, or a batch job that needs automation.
My recommendation
For most readers, the answer is to use what is already on your device. If you are on Windows 11, Paint is the fastest free option with no account and no limit. If you are on an iPhone or a Mac, the built-in tools do the same job. Neither will ask you for money or an email address, and neither uploads your photo anywhere.
If you need a web tool, or you work across devices, Adobe Firefly is my pick. The free daily allowance covers normal use, the quality is the best I tested among the free web options, and the result downloads as a proper transparent PNG. Sign up once and it is there whenever you need it.
If you sell products and you process images in volume, spend the time setting up rembg. It is the only method here with no limit at all, and once it is running, a folder of a hundred photos takes minutes instead of an afternoon. Freelancers who do this kind of work every week will recognise the pattern from my guide to AI tools for freelancers: the tool that looks harder to set up usually turns out to be the one that saves the most time.
And one last thing. If remove.bg was your only background remover, switch now rather than in December. The feature is moving into Canva, not disappearing, but the standalone site you bookmarked is going away, and a workflow built on a closing website is a workflow that breaks at the worst moment. Pick one of the methods above, try it on three or four of your own photos this week, and you will know within ten minutes whether it fits your work. That is the whole job. A background remover should be a ten-second step in your day, not a subscription you think about, and with the right free tool it is.